Heat Pump Installation Disruption: How Long and What to Expect
A standard air source heat pump installation takes two to four days for the main work, with most of the disruption concentrated on the first two days. You will be without heating for one to two days during the changeover, though hot water can usually be maintained with an immersion heater. Ground source systems take longer – one to two weeks including ground works. Here is a day-by-day breakdown so you know exactly what to expect and can plan accordingly.
How Long Does a Heat Pump Installation Take?
A typical air source heat pump installation takes 2 to 5 days to complete, including fitting the outdoor unit, connecting pipework, upgrading radiators if needed and commissioning the system. A straightforward retrofit replacing a gas boiler in a well-insulated home may take just 2 to 3 days, while more complex installations involving new radiators, underfloor heating or hot water cylinder changes can take up to 5 days.
During installation, you should expect the heating and hot water to be off for 1 to 2 days while the old system is disconnected and the new one is plumbed in. Installers will need access to the outdoor location for the heat pump unit, the plant room or utility area for the cylinder and controls, and each room where radiators are being upgraded. Noise and disruption are comparable to a standard boiler replacement, and most families find it manageable by planning the work during milder weather when heating is less critical.
Before Installation Day: The Preparation Phase
Good installers prepare thoroughly before the main work starts. In the weeks before your installation date, expect the following:
Detailed survey (1-2 hours, usually 4-8 weeks before). Your installer visits to measure rooms, assess insulation, check your electrical supply, survey the outdoor unit location, and perform a heat loss calculation. They will need access to every room, the loft, and the outside of the property. For terraced houses in areas like Burnley or Blackburn, they will also check the available space for the outdoor unit and assess noise impact on neighbours.
System design and quotation (1-2 weeks after survey). The installer produces a detailed design showing the heat pump size, hot water cylinder specification, any radiator upgrades needed, and the pipework routing. This is the stage where they identify if any additional work is needed, such as upgrading radiators or improving insulation.
government grant application (2-4 weeks). Your installer submits the government heat pump grant voucher application to the energy regulator. You receive an email confirming the application. The voucher is usually issued within two to four weeks.
Equipment ordering (1-2 weeks). Once the voucher is confirmed, the installer orders the heat pump, hot water cylinder, and any other materials. Most equipment is in stock with UK distributors, but specific models or sizes may take a little longer.
Day One: Outdoor Unit and Major Pipework
The first day is typically the busiest and noisiest. Expect two to four workers on site from around 8am to 5pm. Here is what happens:
Morning: The team arrives and sets up. If your existing boiler is being removed (most installations replace a gas boiler), it is drained and disconnected first. This means your heating and hot water will be off from this point until the new system is connected.
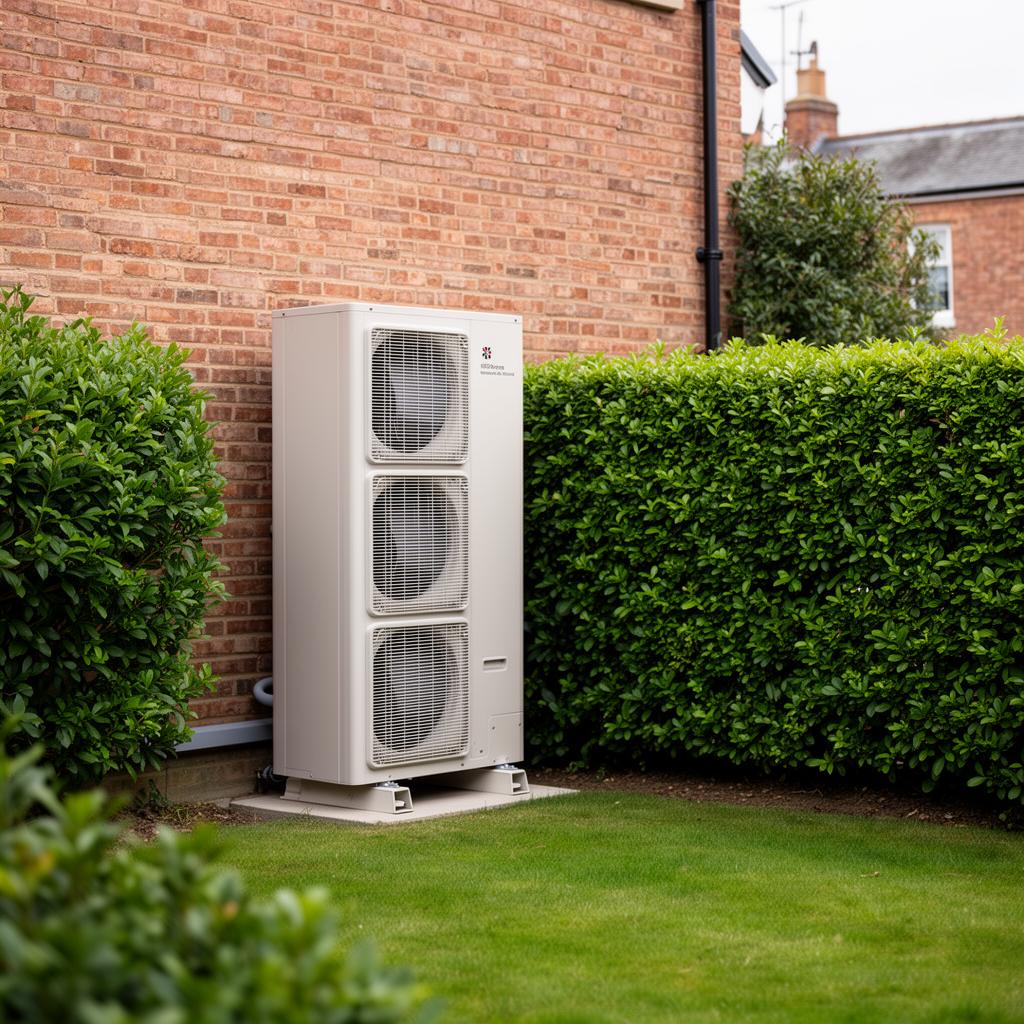
The outdoor unit base is prepared. This is usually a concrete pad or pre-cast slab on the ground, though wall-mounted brackets are used for smaller units where ground space is limited. For Lancashire terraced houses where the backyard is small, the unit often sits against the rear wall on a concrete plinth.
Afternoon: The outdoor unit is positioned on its base. Pipework is routed from the unit through the wall and into the house. A hole of roughly 80mm to 100mm diameter is drilled through the external wall for the flow and return pipes. In stone-built Lancashire homes, this takes longer than in brick properties due to the wall thickness.
The old boiler is removed and the new hot water cylinder is carried in and positioned. In many Lancashire semis and terraces, the cylinder goes in the airing cupboard or a corner of the bathroom. Larger 200-litre or 250-litre cylinders may need a different location if the existing space is too small.
Day Two: Internal Connections and Cylinder
Morning: The internal pipework is connected. The heat pump’s flow and return pipes are linked to your central heating circuit. The hot water cylinder is plumbed in, with connections for cold water supply, hot water output, and the heat pump circuit.
If radiators are being upgraded, the old ones are removed and new ones fitted during this stage. Each radiator swap takes about an hour, including draining, removing the old unit, fitting the new one, and reconnecting.
Afternoon: The electrical work begins. A dedicated circuit is run from your consumer unit to the heat pump. This may require a new MCB (miniature circuit breaker) in your fuse board. If your electrical supply needs upgrading (from 60A to 80A or 100A), the electrician will arrange this with Electricity North West, though this separate visit may add a few weeks to the timeline.
The system is filled with water, pressurised, and checked for leaks. By the end of day two, the system is usually operational for basic heating and hot water, though fine-tuning happens on day three.
Day Three: Commissioning and Setup
Morning: The heat pump is commissioned – this means running through all the settings, checking flow temperatures, verifying the heating curve is correctly set for your home, and ensuring the system responds properly to the thermostat and programmer.
The installer programs the controller with settings tailored to your home. This includes the weather compensation curve (which adjusts the heating output based on outdoor temperature), the hot water schedule, and the legionella protection cycle (a weekly high-temperature run to prevent bacterial growth in the cylinder).
Afternoon: Final checks, tidy-up, and handover. The installer walks you through how to use the system, explains the controls, and shows you how to adjust temperatures and schedules. They complete the certification documentation and provide your certificates.
Any external landscaping or making good is done – replacing paving slabs, filling trenches, repointing around pipe penetrations, and tidying the area around the outdoor unit.
Day Four (If Needed): Extras and Snagging
Larger or more complex installations may require a fourth day. This is common when the project includes multiple radiator upgrades, extensive pipework rerouting, or electrical supply upgrades. Some installers also return after a week or two for a follow-up visit to check the system is running efficiently and tweak settings if needed.
How to Prepare Your Home for Installation
A few simple preparations make the process smoother for you and the installation team:
- Clear access paths. The team needs to carry the outdoor unit through your property or around the side. Clear any obstructions, garden furniture, or narrow gateway clutter. In terraced homes with ginnel access (the narrow passages between rows of houses common across Lancashire), check that the unit can physically fit through.
- Clear the area around your boiler. Remove items from the airing cupboard or the space where the new cylinder will go. The team needs room to work.
- Arrange alternative heating. You will be without heating for one to two days. In summer this is no issue. In winter, have portable electric heaters available as a backup. An oil-filled radiator is more efficient and safer than a fan heater.
- Keep an immersion heater working. If your existing cylinder has an immersion heater, keep it functional as a backup for hot water during the changeover. If you are on a combi boiler with no cylinder, you may have no hot water for a day or two – plan around this.
- Inform your neighbours. There will be some noise, particularly when drilling through walls and positioning the outdoor unit. In Lancashire terraces and semis where neighbours are close, a quick heads-up is courteous and avoids complaints.
- Protect your floors. Installers should lay dust sheets, but extra protection on carpets near the work areas is sensible, especially in hallways and stairs where the team will walk repeatedly.
Ground Source Heat Pump Timeline
Ground source heat pump installations take significantly longer due to the ground works required. For a borehole system, drilling takes two to three days, and the overall installation spans one to two weeks. Horizontal loop systems need trenching, which takes two to four days for the groundwork alone.
The ground works are the most disruptive part. Drilling rigs are large and noisy, and horizontal trenching turns part of your garden into a construction site. If you live in a rural Lancashire property with a large garden, the disruption is manageable. In suburban settings, it is more challenging, and you should plan for your garden to be out of action for several weeks while the ground settles.
After ground works, the internal installation follows the same three-to-four-day pattern as an air source system.
Can I stay in my home during the installation?
Yes, you can stay at home throughout. The work is mostly in the utility area, airing cupboard, and outside. You will have full use of your kitchen, living room, and bedrooms, though there may be some noise and occasional interruptions when the team needs access to check radiators or pipework in different rooms.
What time of year is best for installation?
Spring and autumn are ideal because you are less reliant on heating during the changeover period. Summer is popular for the same reason, though installer waiting times can be longer. Winter installations are entirely possible – just plan for the one to two days without heating by having backup electric heaters ready.
Will the outdoor unit damage my neighbours’ enjoyment of their garden?
Modern heat pumps are quiet, typically 38 to 50 dB at one metre, which is similar to a quiet conversation. Your installer must ensure the unit complies with noise standards, which specify maximum sound levels at the nearest neighbouring property boundary. Proper positioning and, if necessary, acoustic screening can reduce noise further. Most Lancashire neighbours find the sound unobtrusive once installed.
See what these numbers mean for your home
Free instant estimate — costs, savings, payback and grants for your region.
Related Articles

Heat Pump Installation Costs in 2026: The Real Numbers
Heat pumps are now the default replacement for gas boilers in UK government policy, but the question most homeowners ask first is always the same: how much does it actually…
28 May 2026
Infrared Panels vs Heat Pumps: Which Heating System Is Right for Your Home?
Comparing infrared panels vs heat pumps across cost, efficiency, running expenses, and grant eligibility. This guide helps UK homeowners choose the right low-carbon heating system for their property.
8 May 2026
Renewable Heating vs Gas Boiler: An Honest Cost and Comfort Comparison
An honest comparison of heat pumps, biomass and solar thermal against gas boilers on cost, comfort, maintenance, grants and carbon savings for UK homes.
8 May 2026